
Accessibility Insights for Windows makes it easy to file issues directly from automated check failures.
How to file issues
Sign into your issue filing account
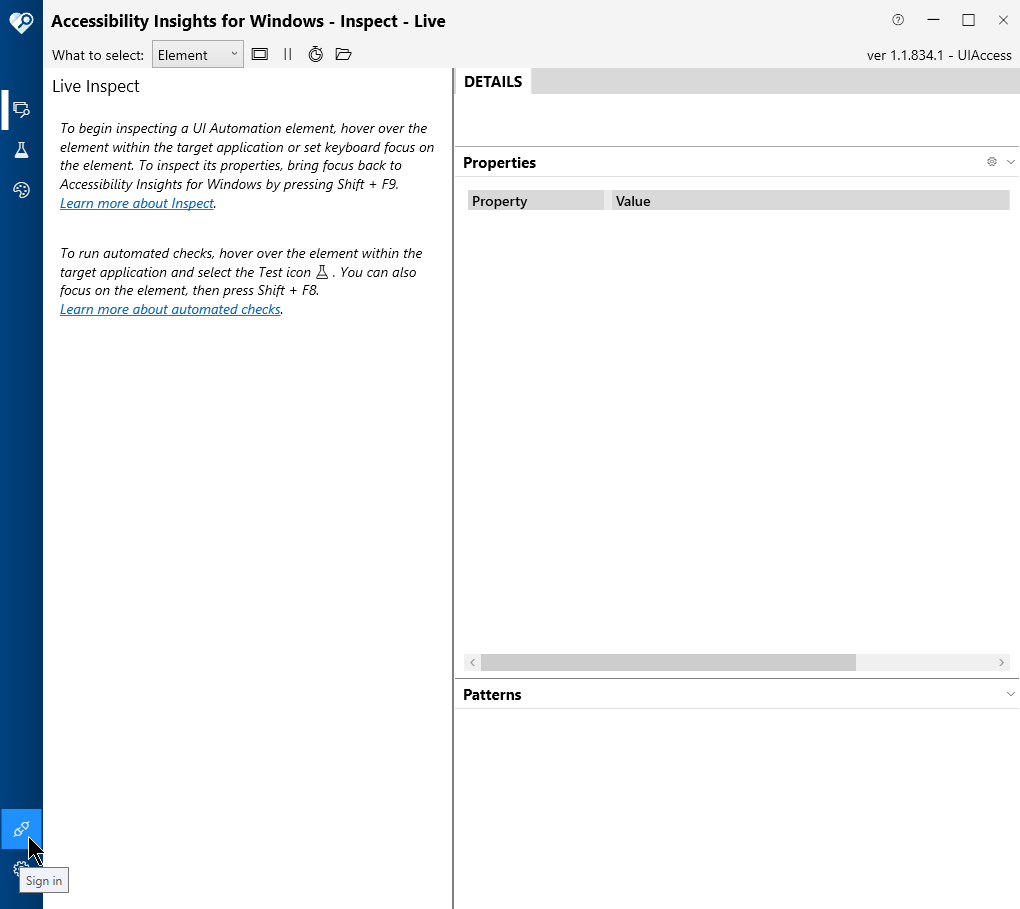
Open Accessibility Insights for Windows.
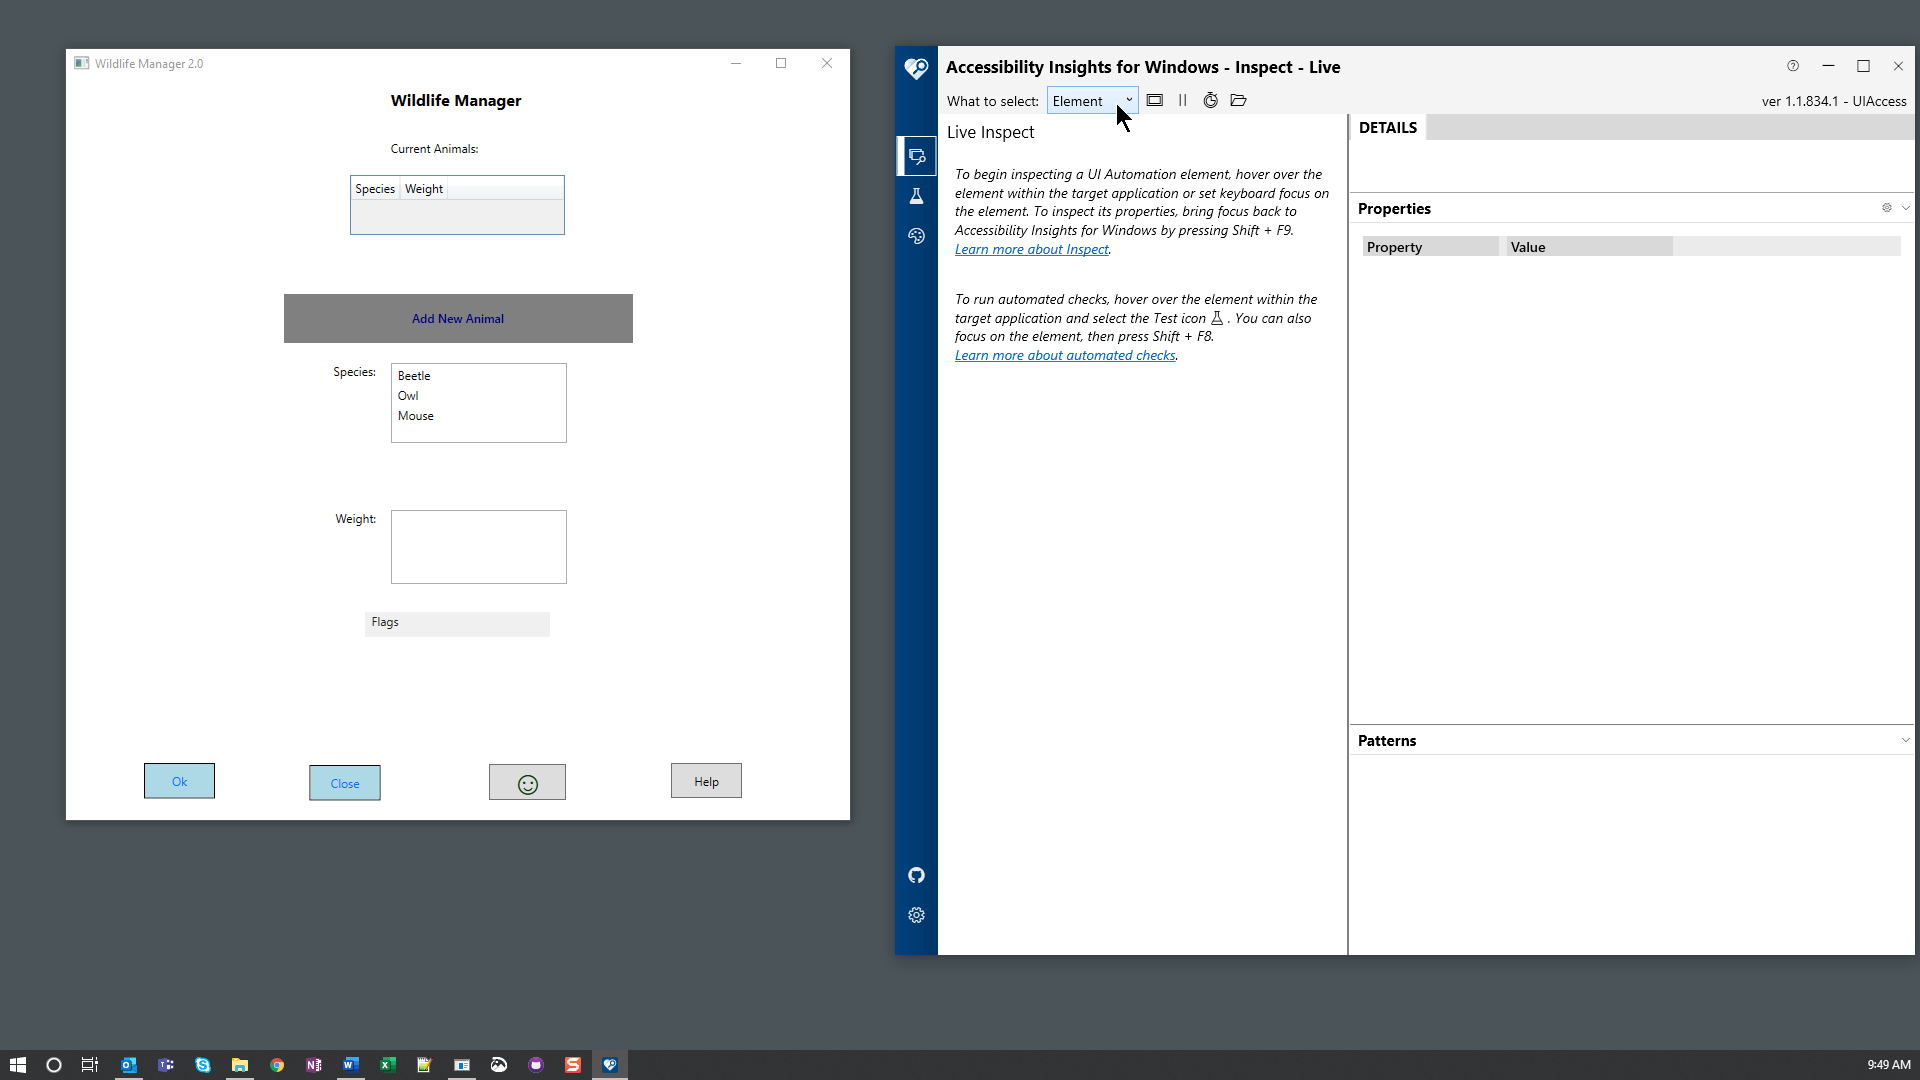
Accessibility Insights will open to the Live Inspect view:
To sign in to Azure Boards
-
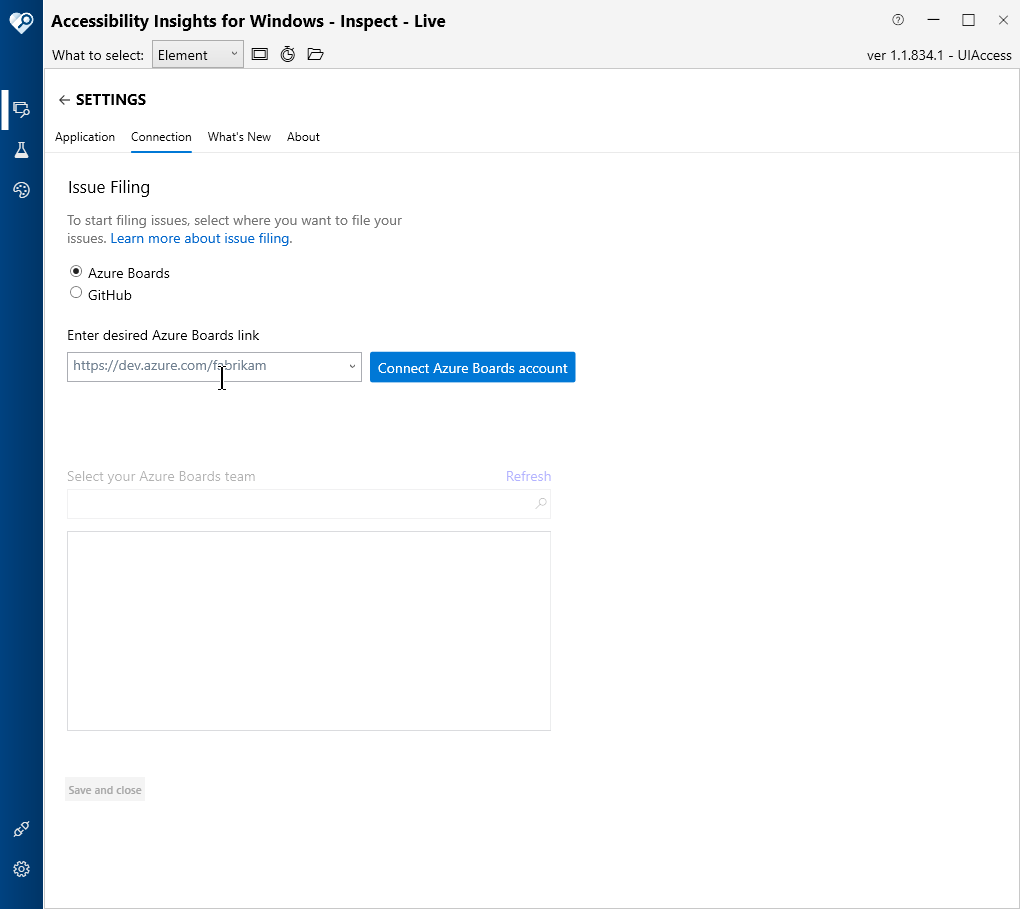
Go to Sign In.
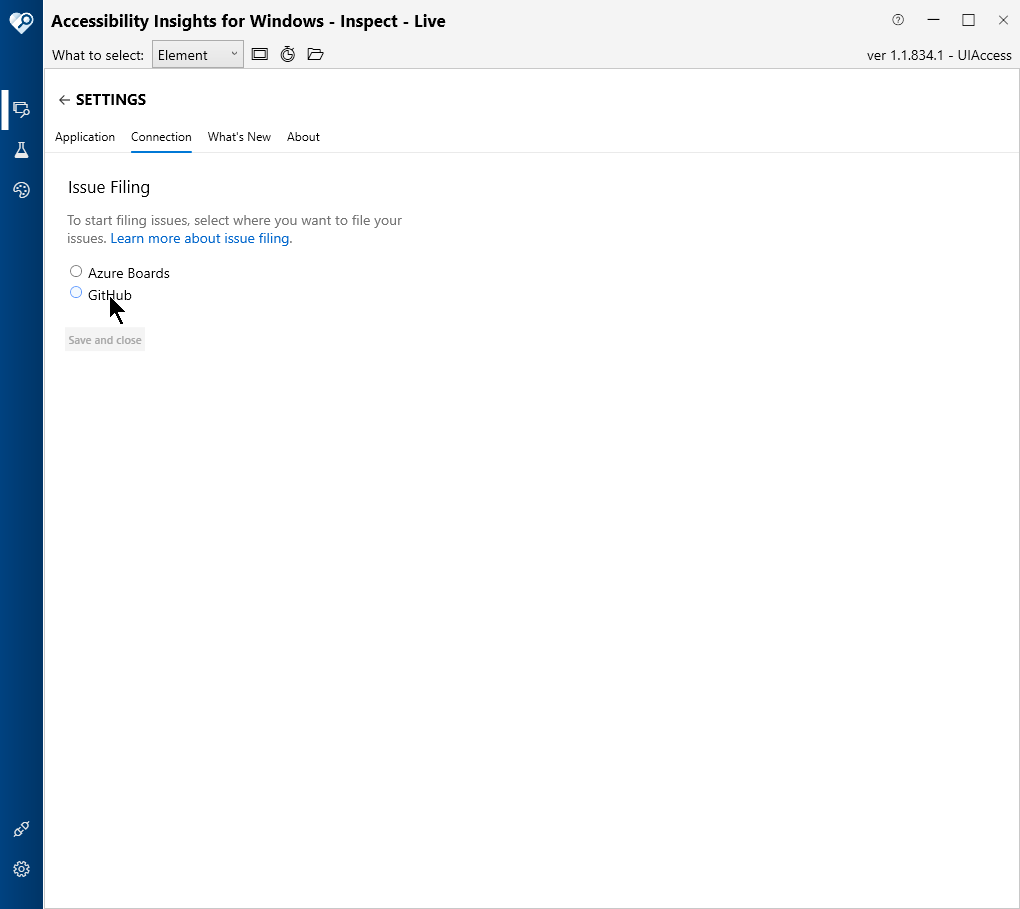
The Settings > Connection tab will open, with two options for filing issue: Azure Boards or GitHub.

-
Select Azure Boards.
A text field and button will appear.
-
Enter the URL for your Azure Boards account in the text field.
The Connect Azure Boards account button will become enabled.

-
Select the Connect Azure Boards account button.
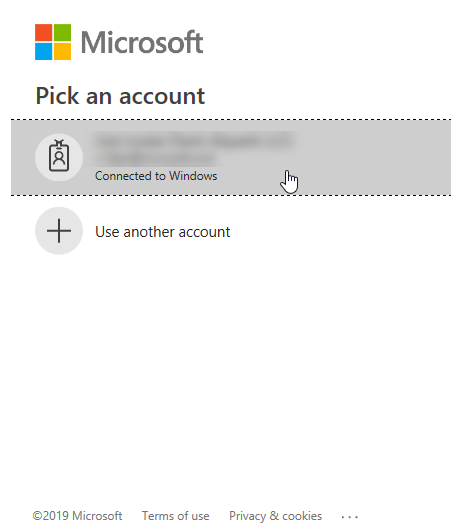
A Pick an account dialog _might _open:
-
Select the account you want to use for filing issues.
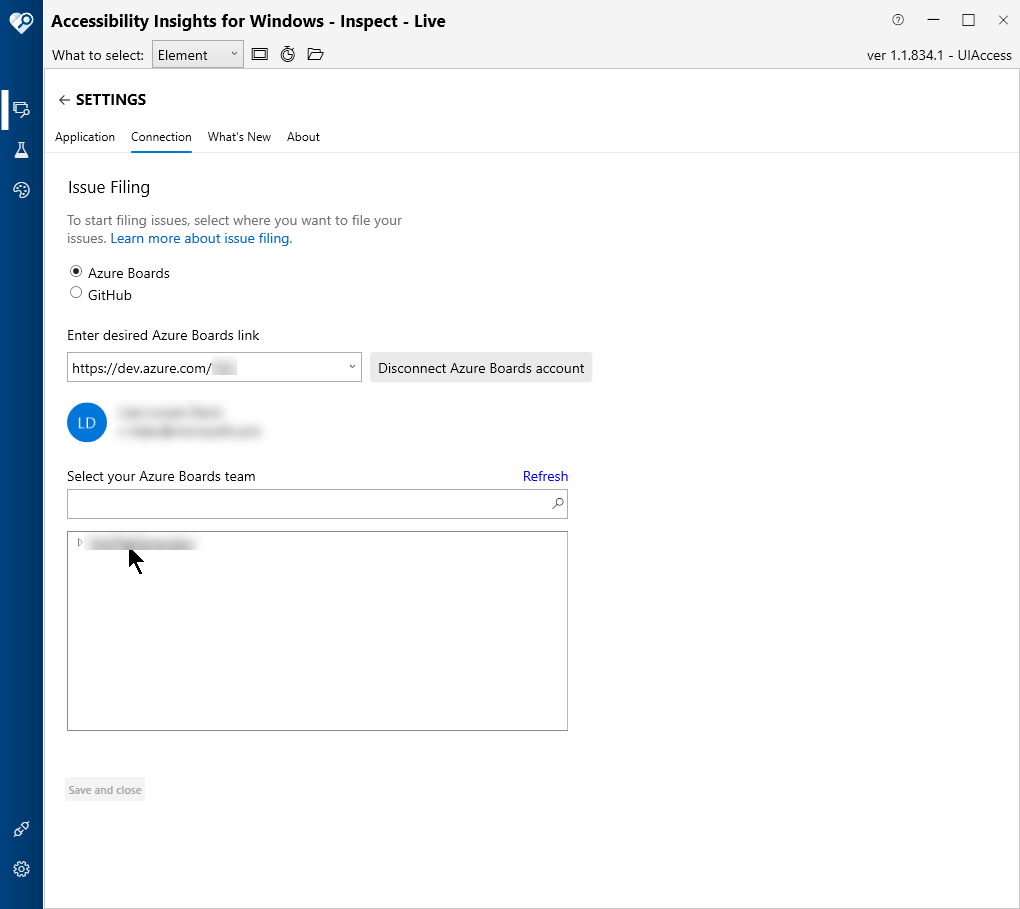
Under Select your Azure Boards team, a list of teams associated with the selected account will appear:
-
Select your team.
The Save and close button will become enabled:
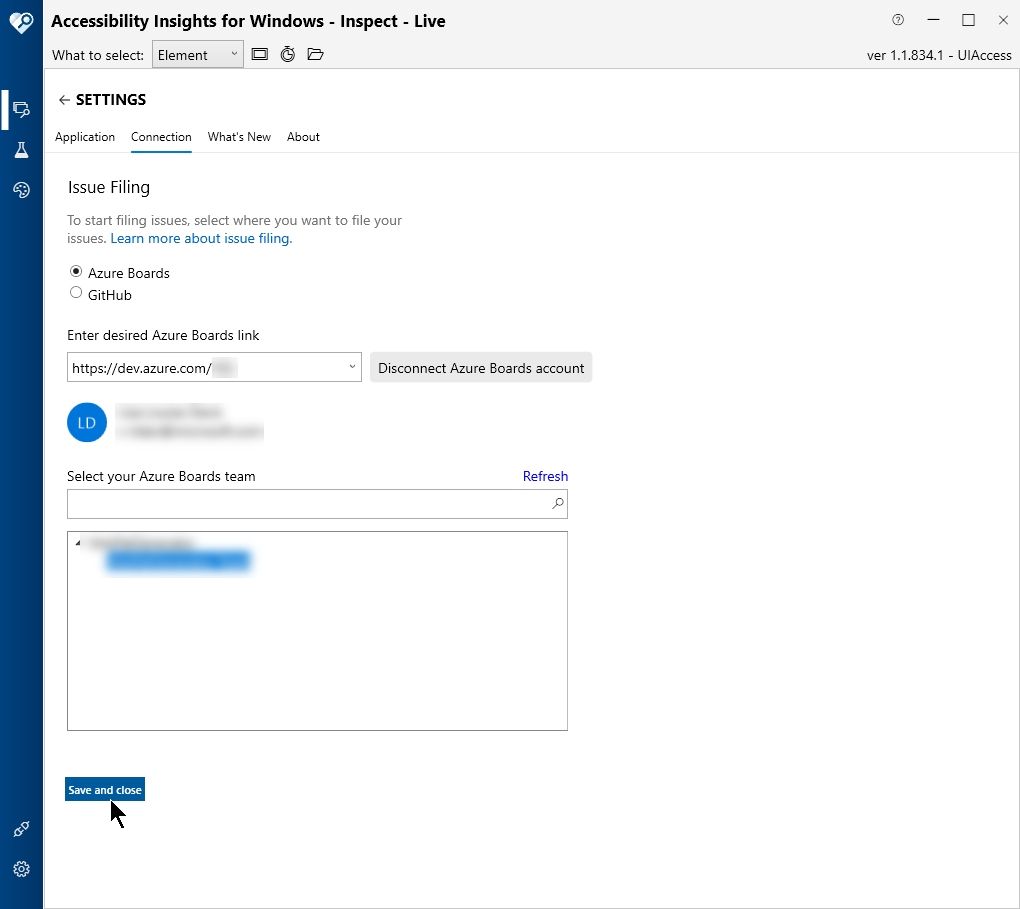
-
Select Save and close.
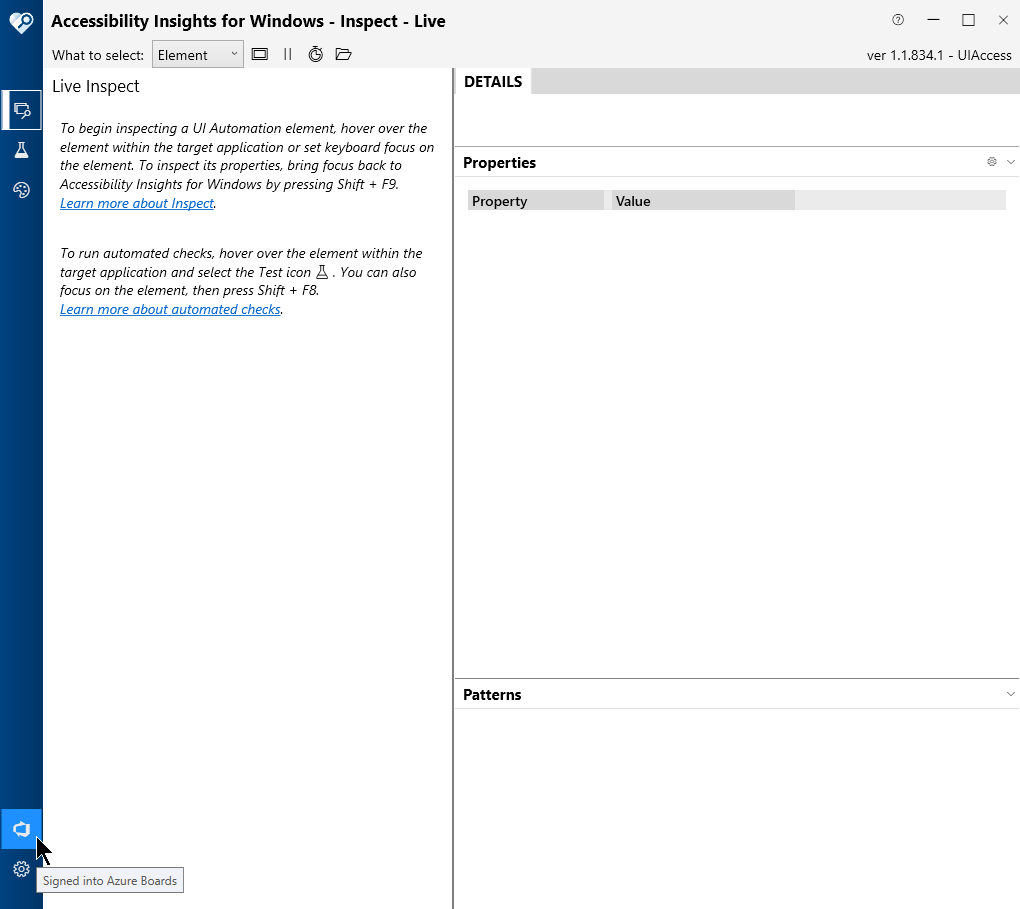
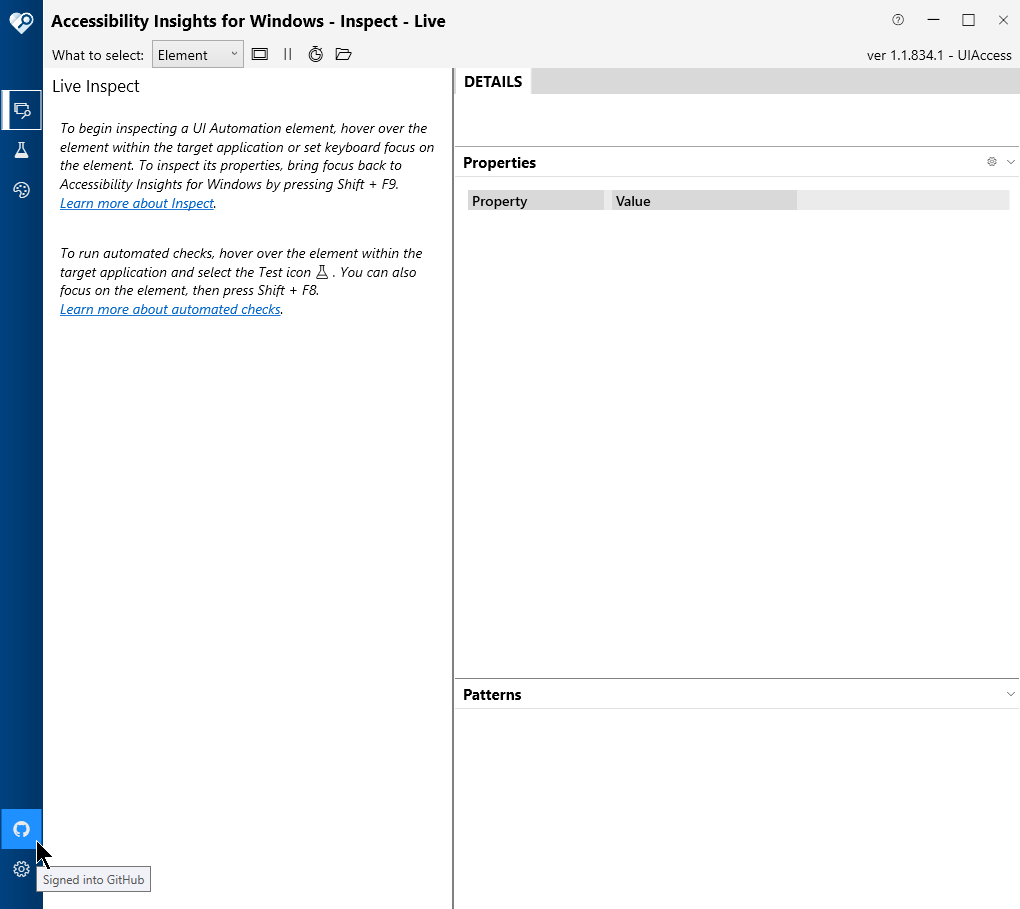
You'll return to the Live Inspect view:
To sign in to GitHub
-
Go to Sign In.
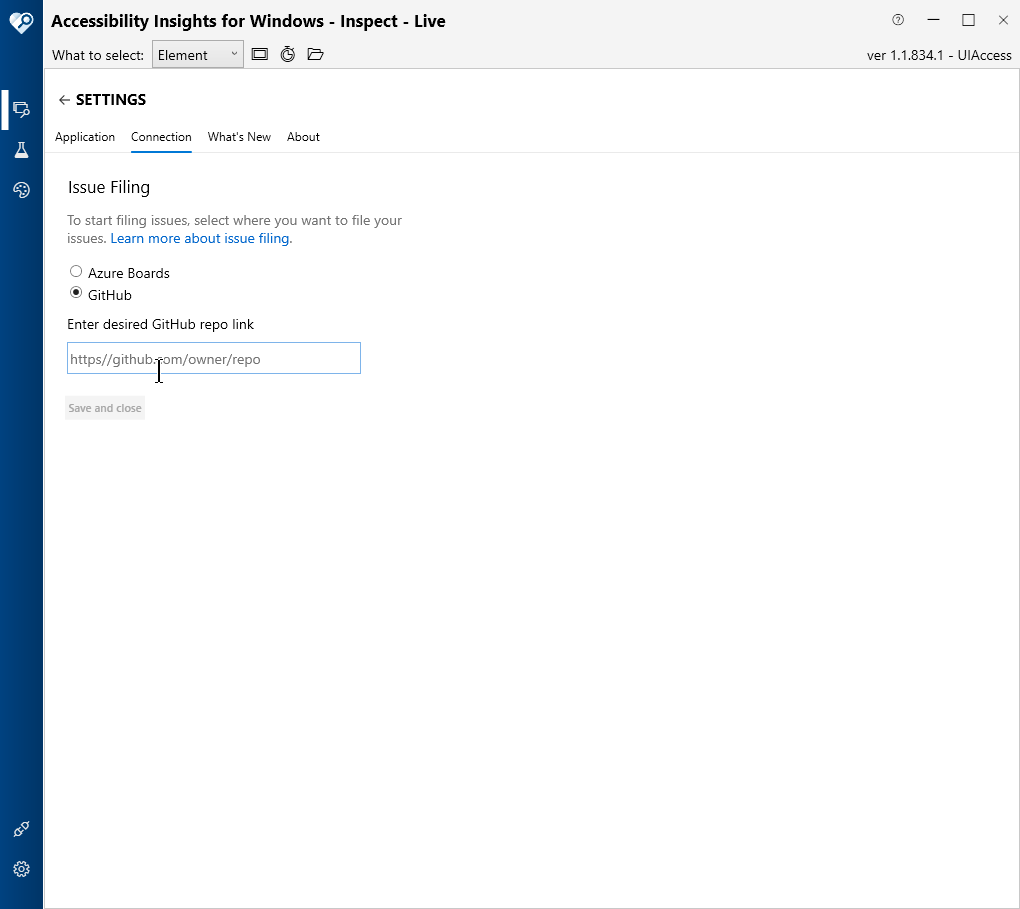
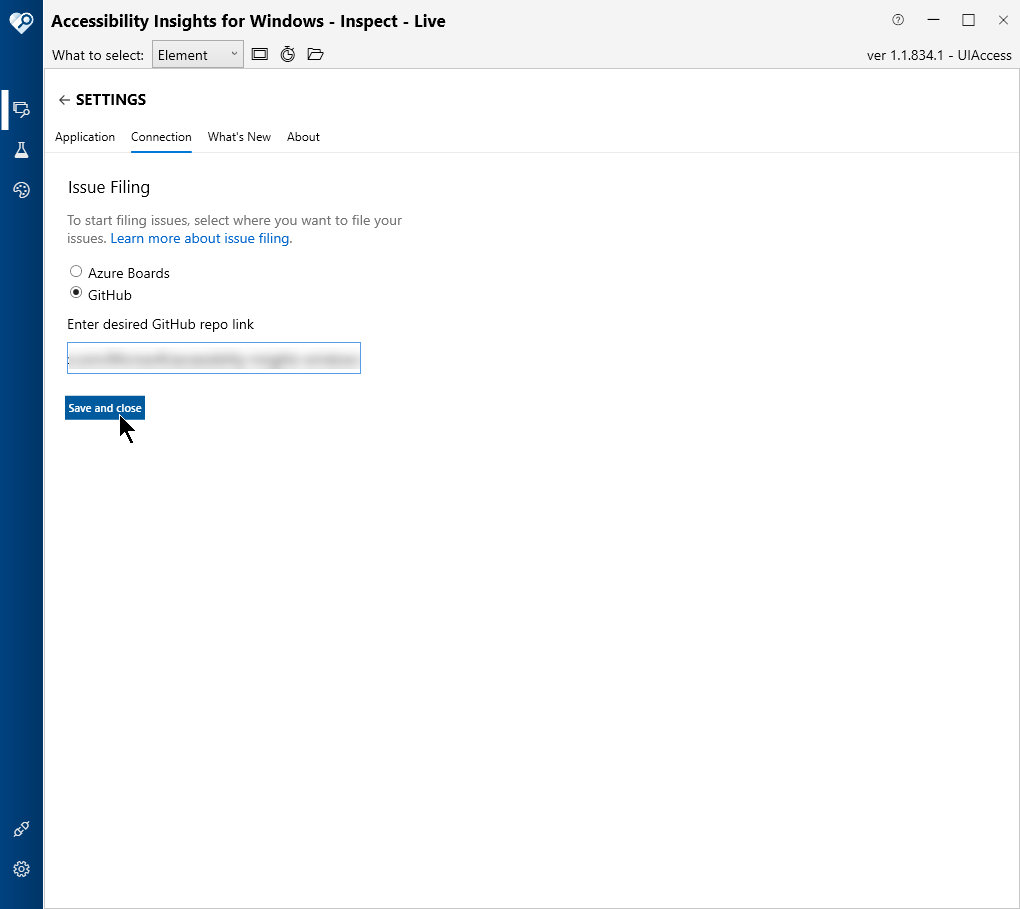
The Settings > Connection tab will open, with two options for filing issues: Azure Boards or GitHub.
-
Select GitHub.
A text field will appear.
-
Enter the URL for your GitHub account.
The Save and close button will become enabled:
-
Select Save and close.
You'll return to the Live Inspect view:
Run automated checks
-
Open the application you want to test (aka the target application).
-
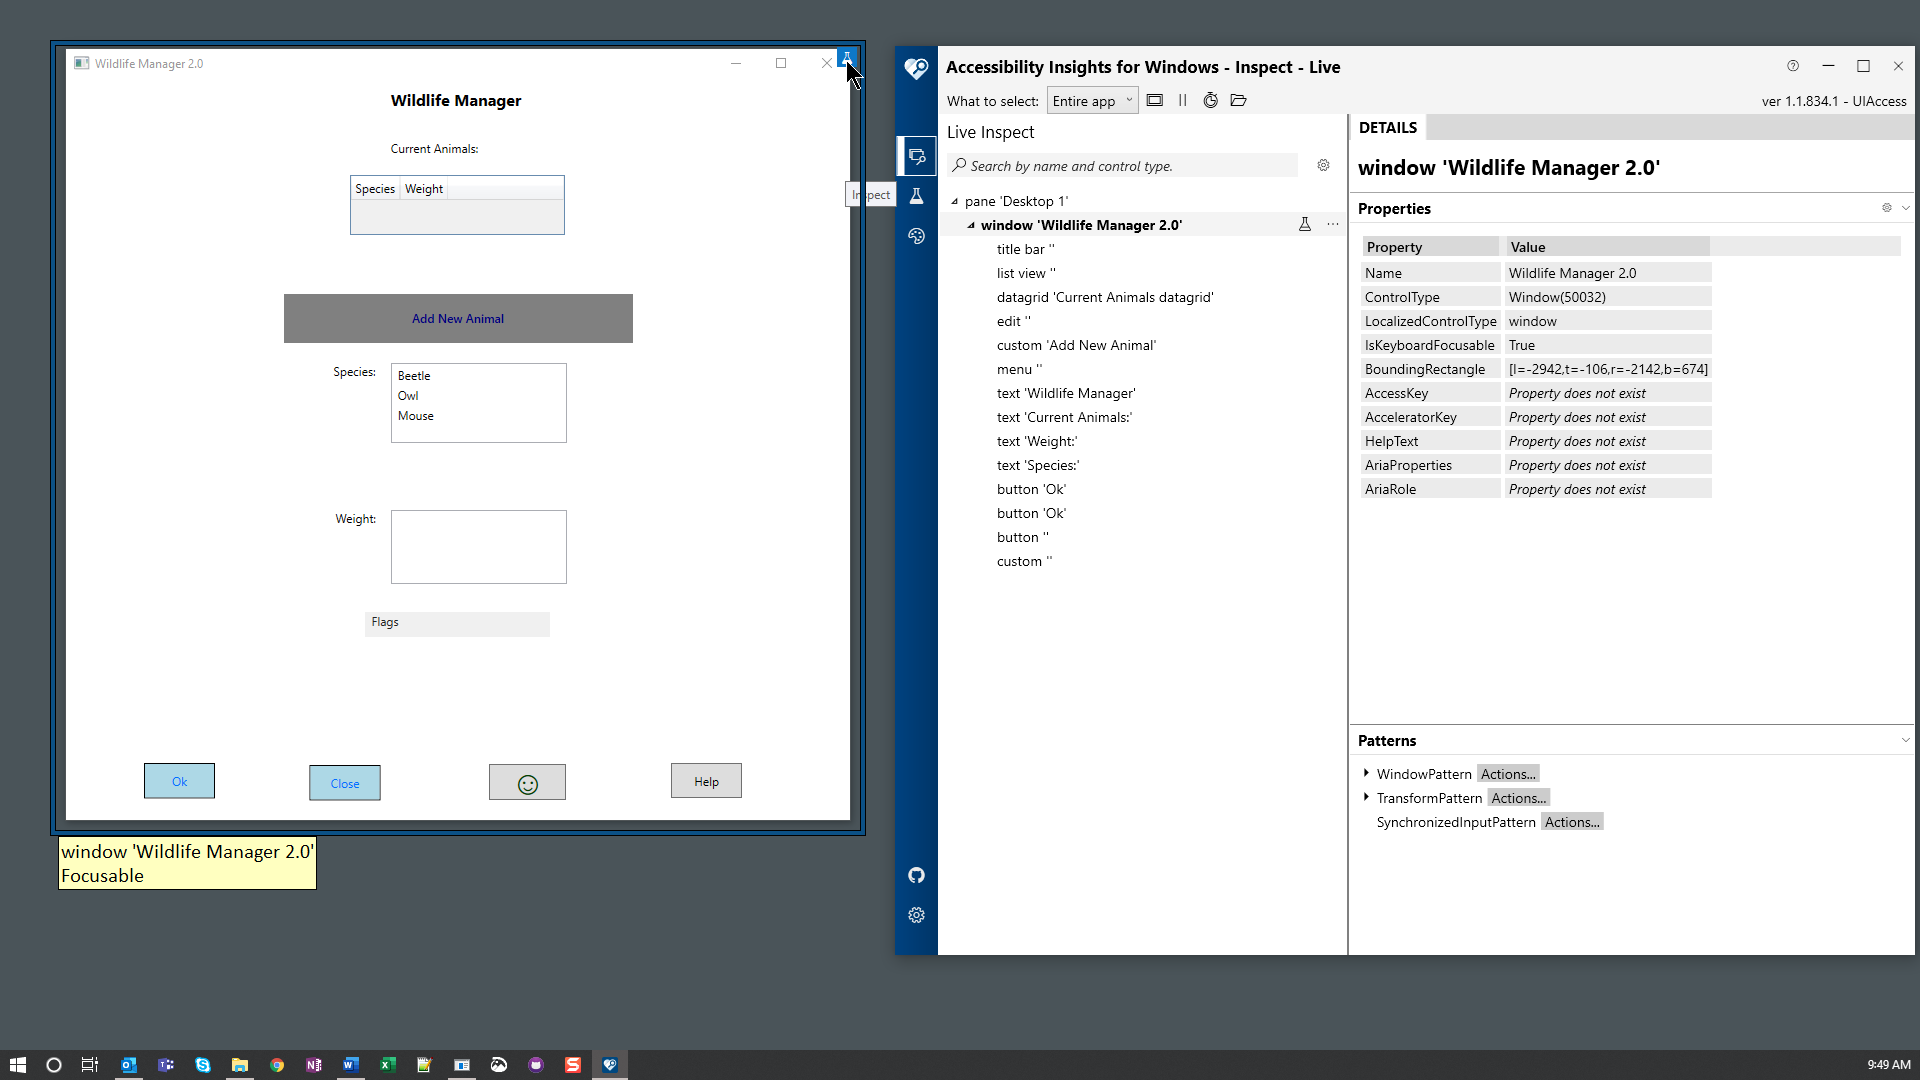
In the command bar, for What to select, choose Entire app.
-
Start the automated checks:
- Use a mouse:
- Hover your mouse over the target application window.
- Click the test beaker icon that appears in the upper right corner.
or
- Use these keyboard commands:
- Press Alt+Tab to switch to the target application window.
- Press Shift+F8.
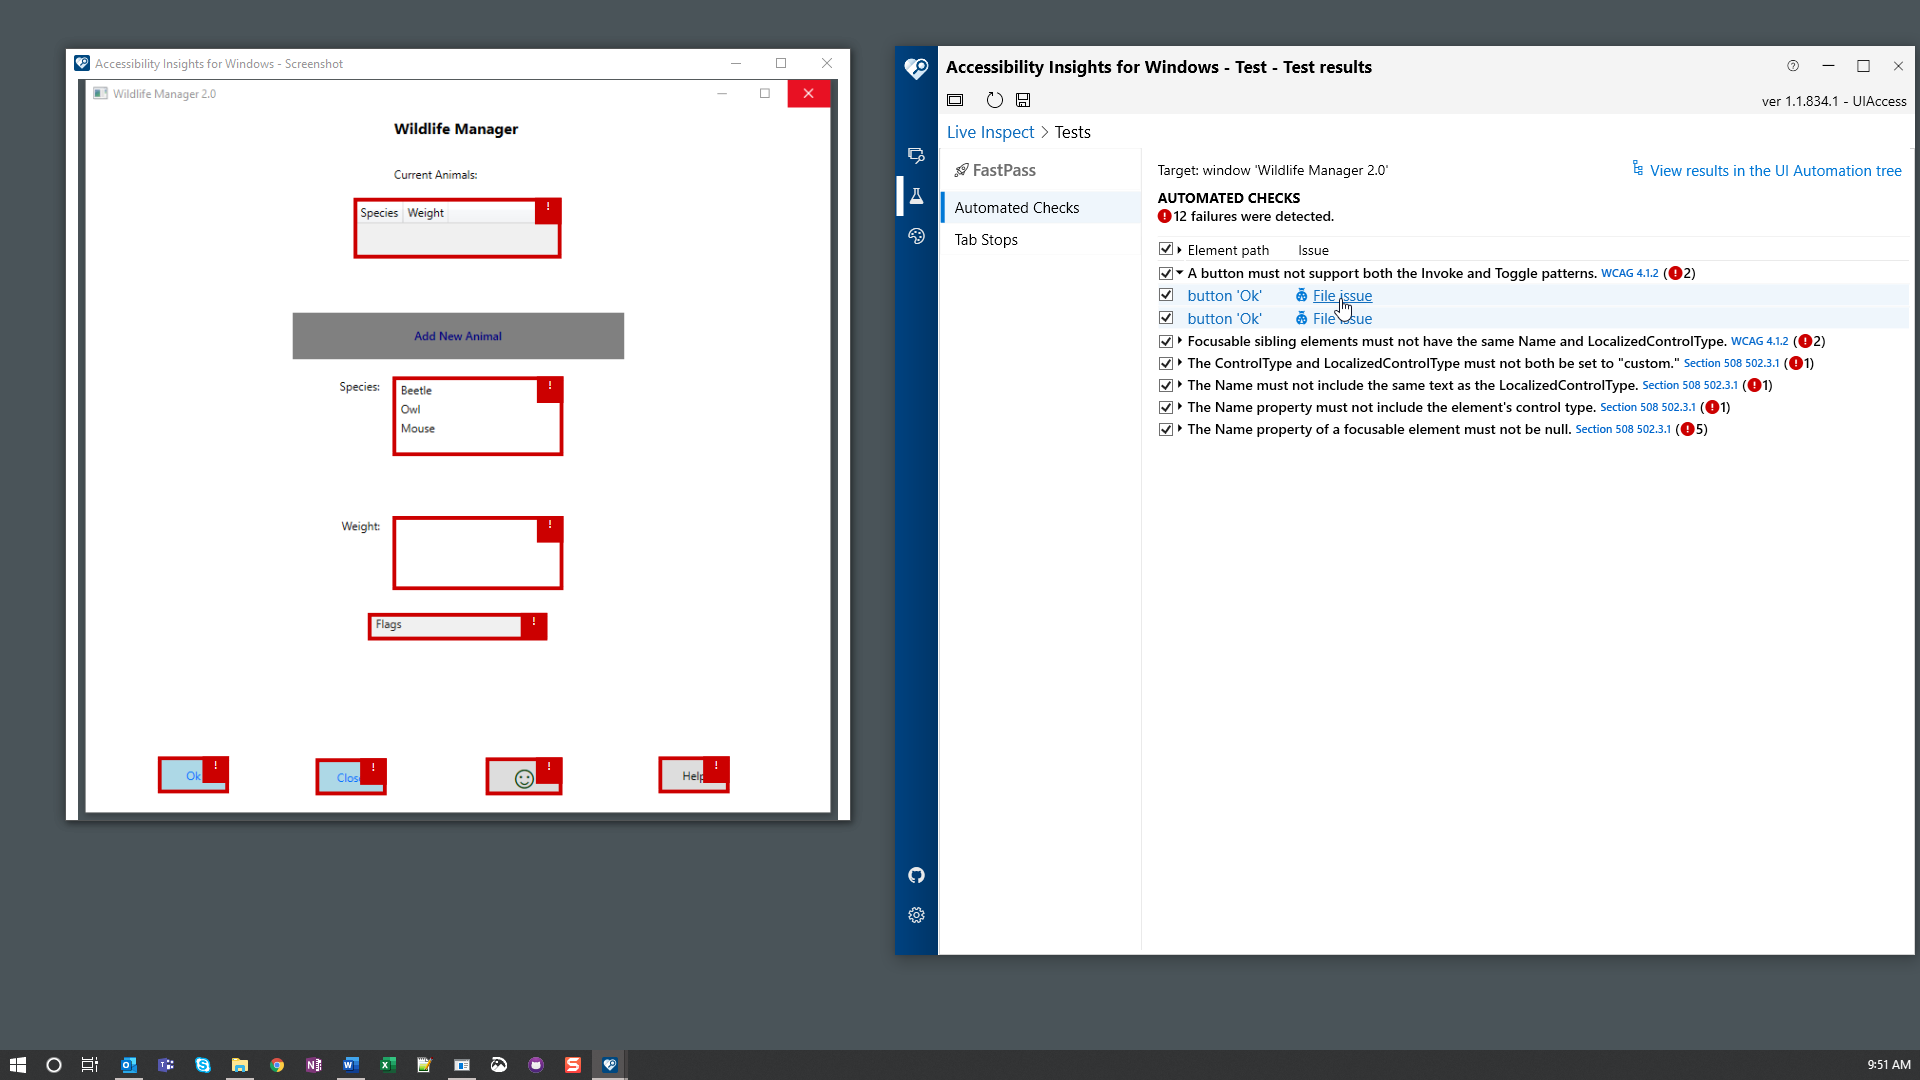
A screenshot of the target app will open in a new window directly over the app, and individual failure instances will be highlighted in the screenshot. Failed rules and failure instances will also appear in Accessibility Insights for Windows in the Automated Checks tree grid.
- Use a mouse:
File an issue
-
In the Automated Checks tree grid, expand a rule:
- Use a mouse to click the rule.
or
- Use these keyboard commands:
- Press the Tab key to navigate to the Automated checks tree grid.
- Press the Up and Down arrow keys to navigate to a rule.
- Press the Right arrow key to expand the rule.
When a rule is expanded, its failure instances are revealed:
-
Select the File issue link associated with the failure instance you wish to file.
- Use a mouse to click the link.
or
- Use these keyboard commands:
- Press the Up and Down arrow keys to navigate to the failure instance.
- Press the Right arrow key to navigate to the File issue link.
- Press Enter to activate the link.
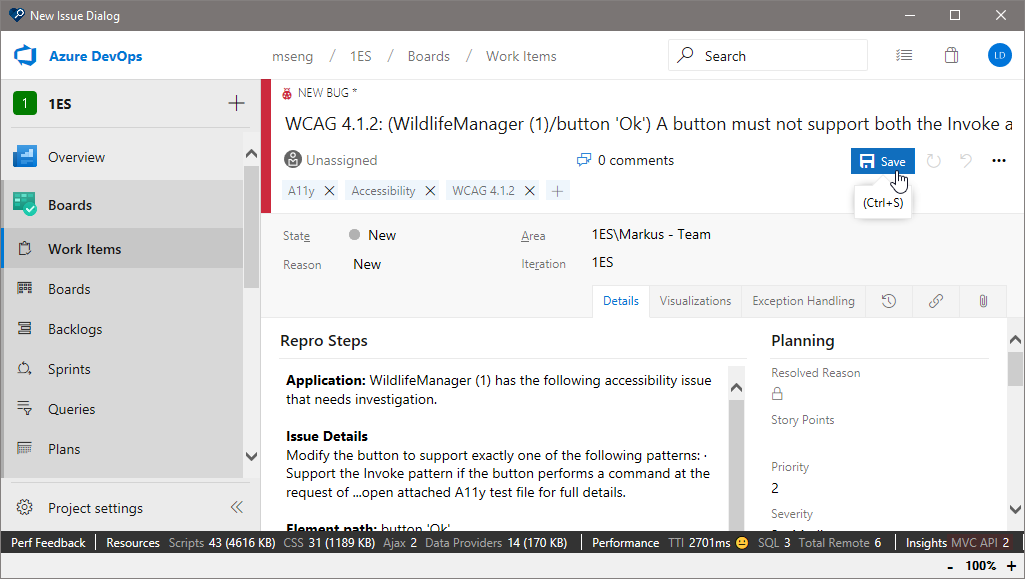
If you signed into Azure Boards, a New Issues dialog will open, with information about the failure automatically populated:
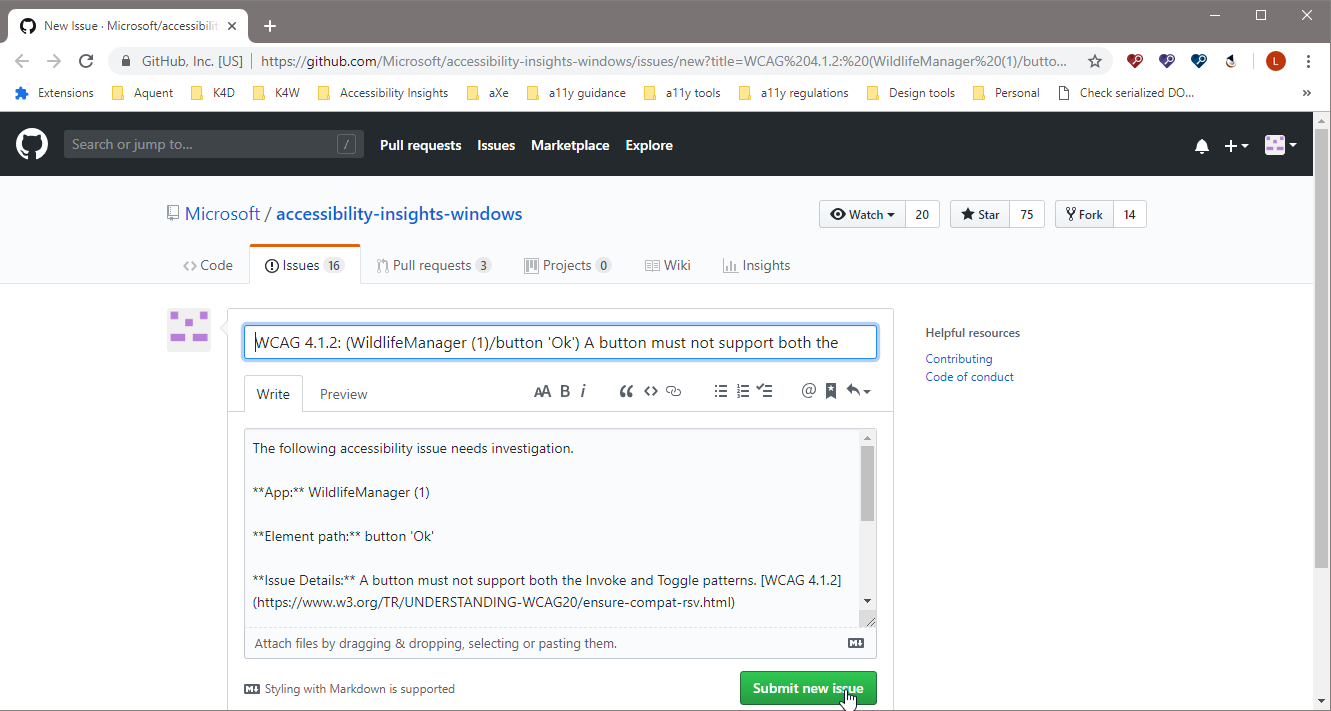
If you signed into GitHub, the issue will open in a new browser window:
-
Modify the information as desired (optional) and then save or submit the issue.
When you save the issue, a screenshot and test file will be attached automatically.
Troubleshooting
How to install the WebView2 runtime
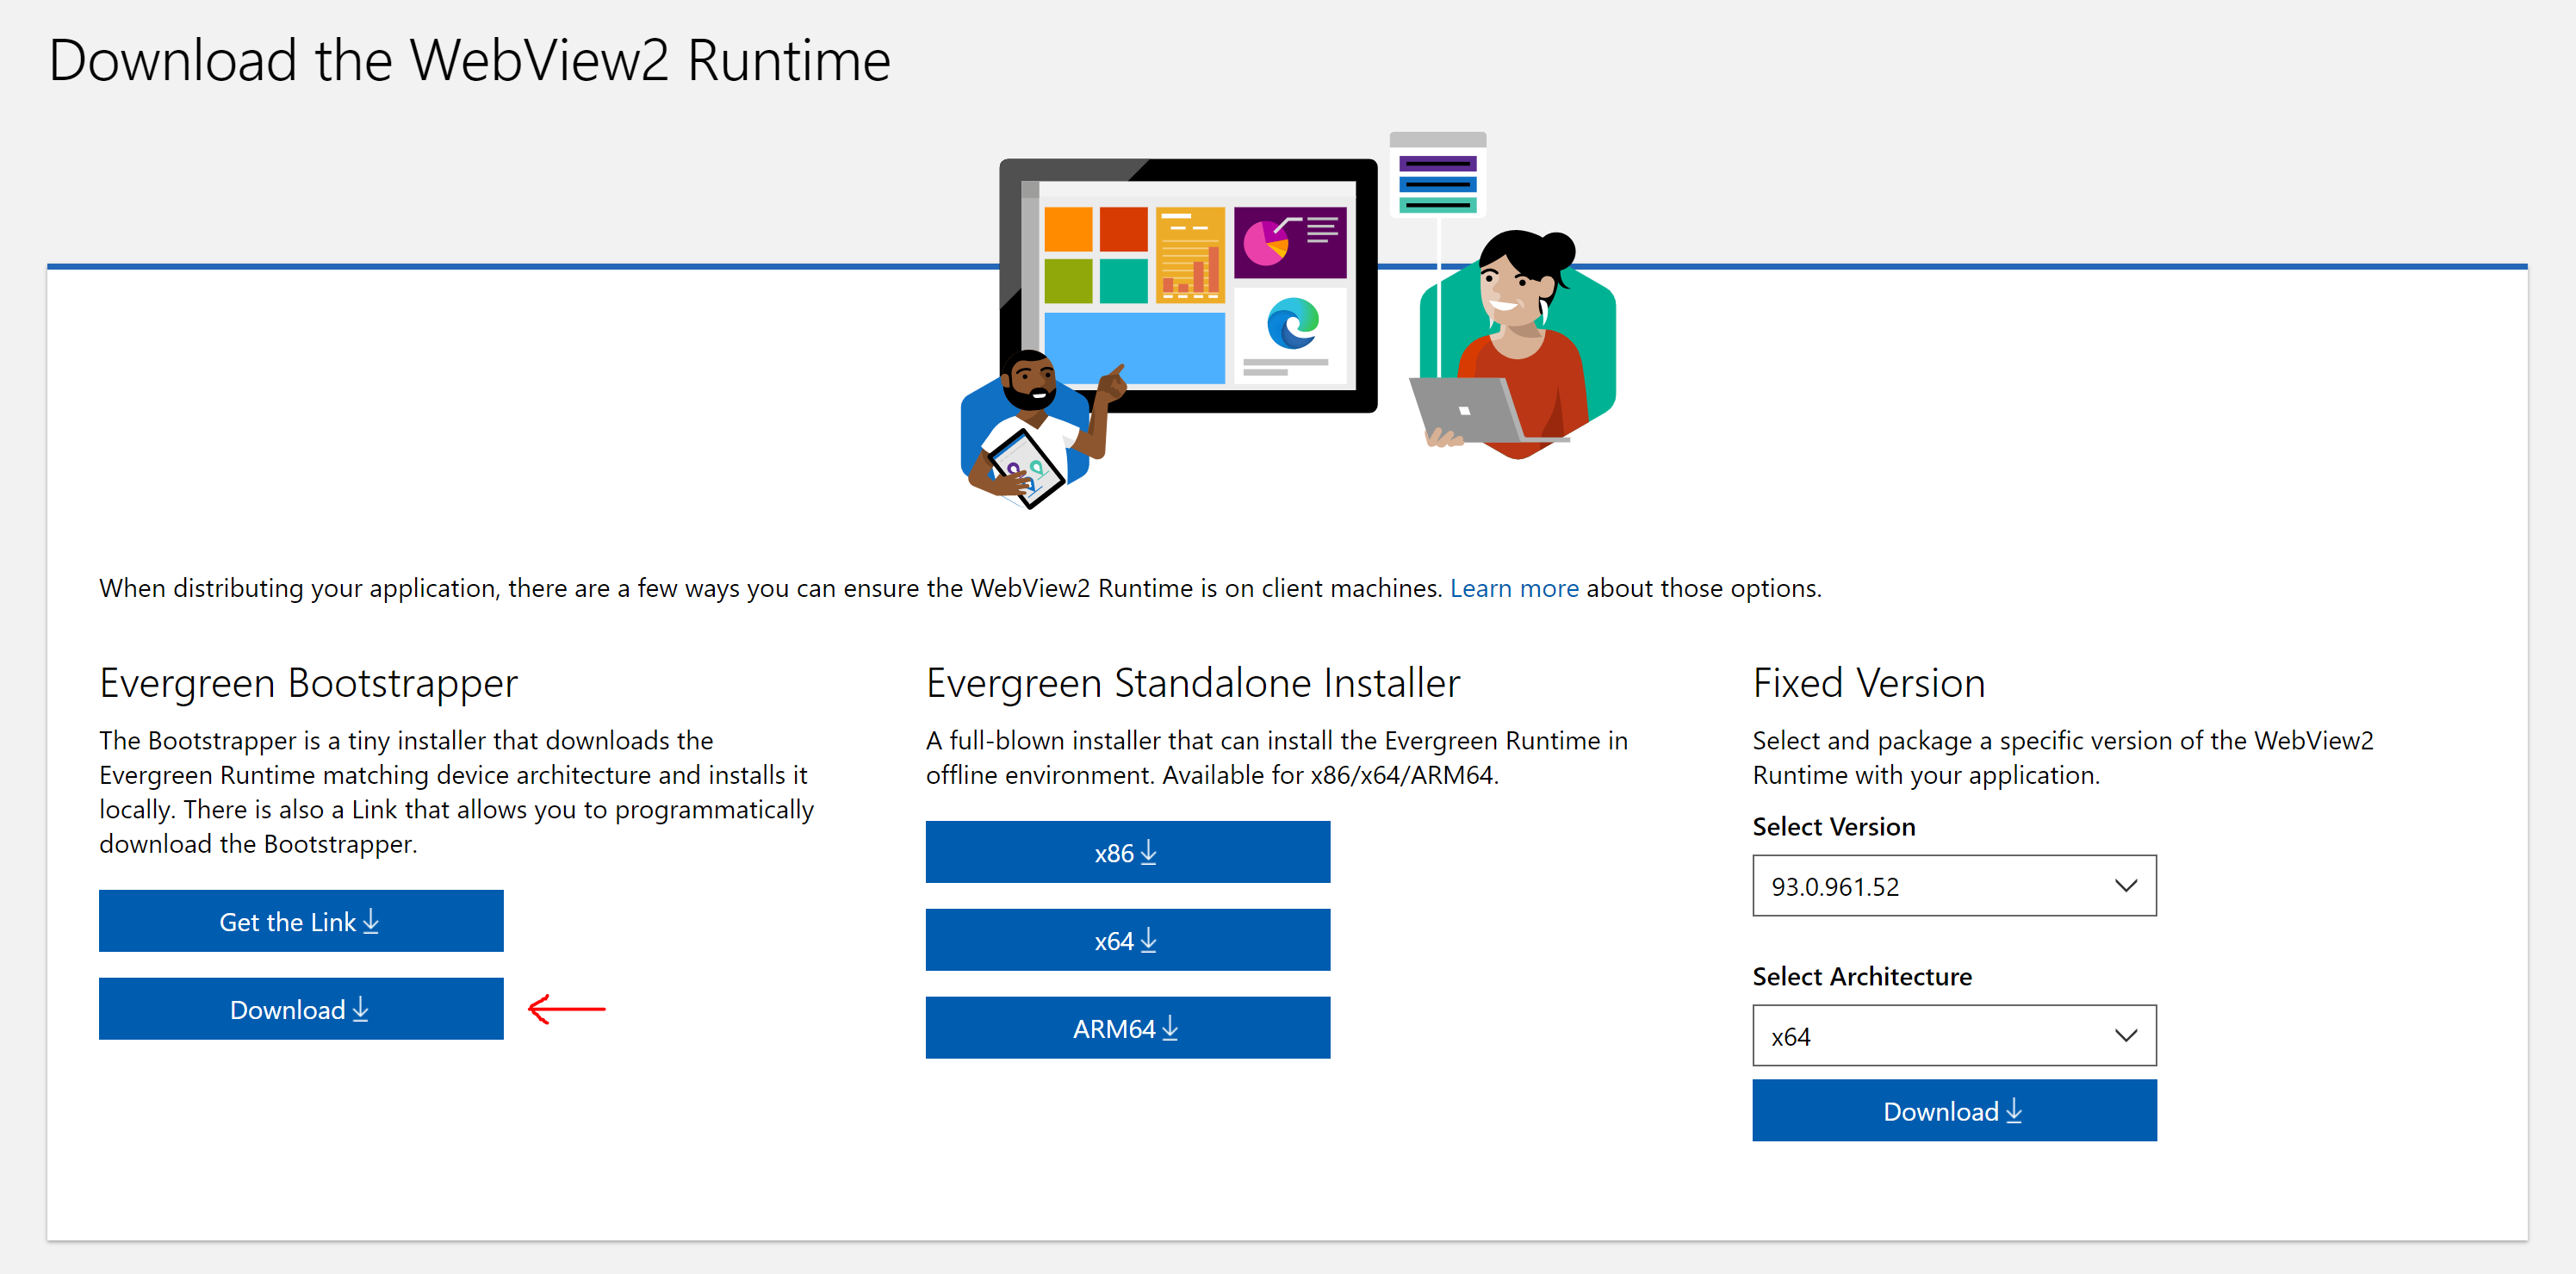
Filing issues to Azure Boards requires the WebView2 runtime. This is preinstalled on some Windows computers; Accessibility Insights for Windows will display a dialog if the WebView2 runtime is not installed.
-
To download and install the WebView2 runtime, navigate to the Edge WebView2 download page.
-
Download the "Evergreen Bootstrapper." Review the license terms.
-
Run the Evergreen Bootstrapper.
-
Restart Accessibility Insights for Windows.
When the WebView2 runtime is installed, Accessibility Insights for Windows will be able to file issues to Azure Boards.